Table of Contents
Introduction: The Secret to Perfect Chicken Thighs
Have you ever wondered why restaurant-style chicken thighs always have that perfect, crispy skin while remaining incredibly juicy inside? You might have tried different cooking techniques—searing, oven roasting, or deep frying—only to end up with unevenly cooked, dry, or rubbery results. The secret lies in a simple but highly effective method: the cold-pan technique.
Unlike conventional methods that start with a preheated pan, this technique relies on a slow rendering process that allows the chicken fat to melt gradually, resulting in perfectly crisp skin without burning. If you’re looking to elevate your home-cooked meals with minimal effort and maximum results, mastering cold-pan chicken thighs is a game-changer.
In this guide, you’ll learn everything about this revolutionary method—from the science behind it to step-by-step instructions, common mistakes to avoid, and delicious serving ideas. Let’s dive in!
Why Cold-Pan Cooking Works for Chicken Thighs
The Science Behind the Method
Traditional high-heat searing often leads to uneven cooking, where the outer layer crisps too quickly while the inside remains undercooked. The cold-pan method, on the other hand, gradually renders the fat beneath the skin, leading to:
- Crispier skin without the risk of burning.
- Even heat distribution, ensuring the meat stays tender and juicy.
- Better flavor absorption, as the slow cooking allows seasoning to penetrate deeper.
By starting with a cold pan, you allow the chicken thighs to release their natural fat, creating a self-basting effect that enhances taste and texture.

Choosing the Right Chicken Thighs
Bone-In vs. Boneless: Which One Should You Use?
For the best results, always opt for bone-in, skin-on chicken thighs. The bone acts as an insulator, helping the meat retain moisture, while the skin crisps up beautifully in the rendered fat. If you prefer boneless, be extra cautious with cooking time to avoid drying out the meat.
Fresh vs. Frozen Chicken Thighs
- Fresh thighs yield the best texture and flavor.
- Frozen thighs can be used, but proper thawing is essential. Defrost in the refrigerator for 24 hours or use a cold-water method to avoid bacterial growth.
Step-by-Step Guide to Cooking Cold-Pan Chicken Thighs
Ingredients You’ll Need
| Ingredient | Quantity |
|---|---|
| Chicken thighs (bone-in, skin-on) | 4 pieces |
| Salt | 1 tsp |
| Black pepper | ½ tsp |
| Garlic powder | ½ tsp |
| Olive oil | 1 tbsp |
| Butter | 1 tbsp |


Equipment You’ll Need
- Heavy-bottomed skillet (preferably cast iron for even heat distribution).
- Tongs for flipping.
- Paper towels for drying chicken thoroughly.
Cooking Instructions
Step 1: Prepare the Chicken
- Pat the chicken thighs completely dry using paper towels—moisture is the enemy of crispy skin.
- Season both sides with salt, pepper, and garlic powder. Let them sit at room temperature for 10 minutes.
Step 2: Start in a Cold Pan
- Place the thighs skin-side down in a dry, unheated pan.
- Turn the heat to medium-low and let the fat render slowly—do not move the chicken for at least 10-15 minutes.
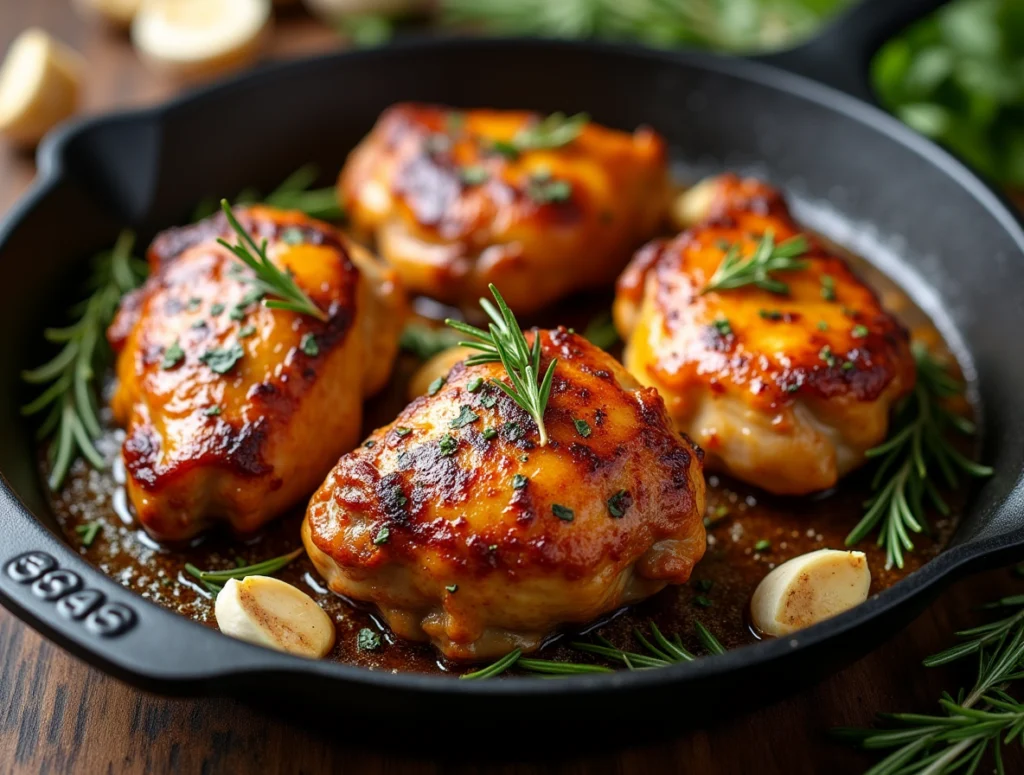
Step 3: Flip and Finish Cooking
- Once the skin is golden brown and crispy, flip the thighs and cook for another 5-7 minutes.
- Add butter to the pan and spoon it over the chicken for added flavor.
Step 4: Check for Doneness
- Use a meat thermometer to ensure the internal temperature reaches 165°F (74°C).
- Remove from heat and let the chicken rest for 5 minutes before serving.
Common Mistakes to Avoid
1. Starting with a Hot Pan
If you add chicken to an already hot pan, the fat doesn’t have time to render, leading to greasy, rubbery skin instead of crispy perfection.
2. Moving the Chicken Too Soon
Allow the skin to crisp up naturally before flipping. If you try to move it too early, you risk tearing the skin and losing texture.
3. Overcrowding the Pan
Give each piece enough space to ensure proper heat circulation. Too many thighs at once create steam, which prevents crisping.
Serving Suggestions for Cold-Pan Chicken Thighs
Best Side Dishes
- Garlic mashed potatoes – creamy and flavorful, perfect for soaking up juices.
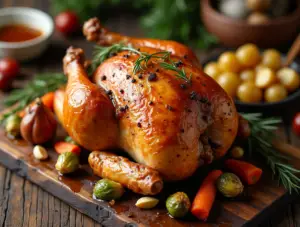
- Roasted vegetables – carrots, Brussels sprouts, or zucchini complement the richness of the chicken.
- Green salad with lemon vinaigrette – a refreshing contrast to crispy, savory thighs.
Sauce Pairings
- Honey mustard glaze – for a sweet and tangy balance.
- Garlic herb butter – rich and aromatic.
- Spicy sriracha mayo – adds a kick to each bite.
Frequently Asked Questions (FAQs)
Can I Use This Method for Chicken Breasts?
Yes, but the results will differ. Chicken breasts have less fat, so they may not crisp up as well. If using breasts, consider basting with butter to enhance juiciness.
How Do I Store Leftover Chicken Thighs?
- Refrigeration: Store in an airtight container for up to 4 days.
- Reheating: Warm in a skillet over medium heat to re-crisp the skin.
Can I Use a Nonstick Pan Instead of Cast Iron?
While nonstick pans work, they don’t retain heat as well as cast iron, which may affect the crispiness. A stainless steel or cast iron skillet is the best choice.
Conclusion: Elevate Your Chicken Game with the Cold-Pan Method
Mastering the cold-pan technique is an easy yet highly effective way to achieve restaurant-quality chicken thighs at home. By allowing the fat to render gradually, you get the crispiest skin and the juiciest meat—without any special equipment or complicated steps.
Now that you know the secret, it’s time to put this method to the test! Try it out and share your results. Got any questions? Drop them in the comments, and let’s talk chicken.